We put the lid on the first aka. There were quite a few small steps to getting this right. The first things were to thoroughly coat all of the raw wood in the interior. I went over the wet epoxy with a heat gun to thin it and make sure it penetrated pretty well.
Next was filling in the solid wood area on the windward end. This took three pieces of 18mm plywood that ended up stacked. The pieces were shaped to fit pretty tight. It was messy because you need to use thickened epoxy very liberally so that squeeze out from the layers would force up the side gaps. The very end got filled with solid epoxy since wood would not fit very well.

Wood and epoxy in the "nose".

Clamping Pads.
Clamping pads had to be made out of 6mm plywood. These are 3/4 by 3/4 inch squares pre-drilled with oversize holes. The top panel was pre-drilled every seven inches for even clamping pressure.

7/64s holes for screws.

An ad hoc jig to drill all the holes 3/16ths from the edge and centered on the 18mm (3/4 inch plywood).
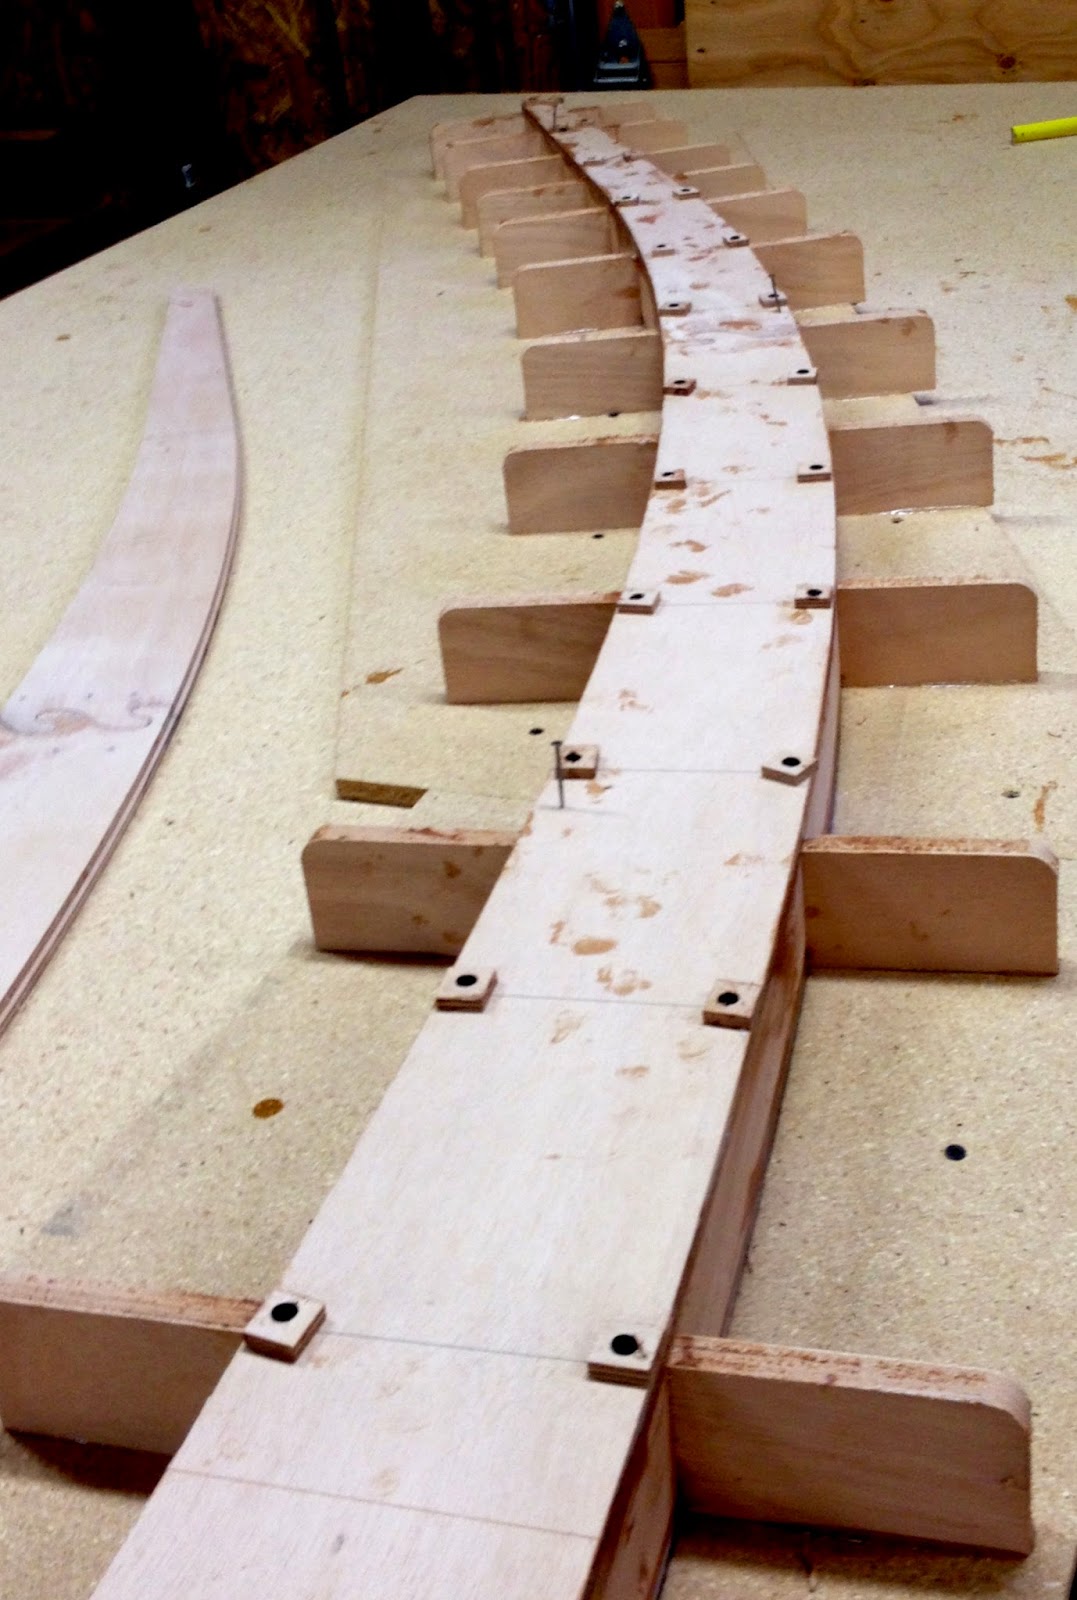
The top is temporarily nailed to keep it aligned in place while the holes are drilled down into the plywood sides through the top plate. The nails get pulled partially out. A small bit of nail is left exposed at the bottom of the top panel. These nails help you find their original holes and align the panel when it is extremely slick with thickened epoxy.
The remaining surfaces and edges get primed and then buttered with thickened epoxy. The panel is upside down to be primed.
A crucial moment is when you have to flip the flexible 18 foot panel on to the box sides. You need to drop it fairly close to it's final position so that you don't rub glue off of area by shifting it while it is laying unclamped.

After clamping.
The 64 screws are then run through the pads into the pre-drilled holes. The screws are #6 1 inch drywall type, which have been coated lightly with WD-40. The lubricant keeps the screws from bonding to the work. Without this, the screws would probably break off when removing them. We don't like metal lodged in our plywood.

The blocking on the leeward end. The excess side panel will be trimmed when dry.
Lastly, excess squeeze-out must be carefully scraped off the sides to reduce sanding.
Task time: 8 hours
Total project time: 168 hours
Thanks for all the useful tips on building techniques. Even the small ones, like the WD40 on the screws, to avoid them guiling on and breaking off the head. ... when thinking about it,... how do you actually do it, without compromising the area around the screw with the oil? ... Anyway, I wish I had done this. Would have saved me lots of work working out some screws, that "screwed" me. And some heads did break off... Not to many, but enough to annoy me. But now I know how to do it better with my next boat.
ReplyDeleteThis boat is going to come out very nicely. Congratulations! I'm very curious to see it.
Cheers,
Peter - From Arpex
The oil is a worry. Drop the screws into a cup and spray them. Then you dump the screws out on paper towels and dry them as well as you can. You are left with a thin film of WD40. There is usually squeeze out coming up through the pre-drilled holes, so there is not much direct wood to oil contact.
DeleteI have been doing the first few turns with a screwdriver to remove the screws before using the drill driver. I don't want any sudden jerks before the epoxy bond on the screw gives way.
Thanks for the kind encouragement. Waiting to see your boat launch too.