18.5 foot sections of pultrusion are cut off from the roll, cleaned, taped, sanded, vacuumed and wiped.
The first adventure was cutting the pieces off the 500 foot roll. I was lulled into feeling safe as I cut off the cable ties that held the roll. The roll laid there calmly. I had expected a little more reaction from releasing it. Since it seemed under control, I neglected to add any different ties or restraint mechanism. While pulling out a length, the roll slipped off the table and exploded. It suddenly expanded into a 15 feet wide and 10 foot high hairball.
After cutting of the first 5 strips, there was still about 400 feet of tangle. Sorting it out was futile. I would pull out 20-30 feet and find a knot. I will need to pull all of the aka strips and cut them. This will consume most of the roll.
I will need to build some sort of reel with a cage for the next roll. If you use this stuff, fair warning.
The strips were clamped to the table to measure and cut them. This is a bit of a wrestling match.
The next step was to wipe them down with solvent. There was dirt and a bit of adhesive from duct tape at the factory. I used denatured alcohol. Russell thought acetone would be much better. Ether of these need to be sanded as they leave residues. Apparently the gold standard is medical and/or HPLC acetone which is pure and leaves no residue. Big time Grand Prix builds use this at over $200 a gallon.
The next step is to tape the back of the strips with packing tape to hold them together. The tape is placed perpendicular to the strips.
Sanding was done with 150 grit paper. Russell warned me that different paper brands and grades can leave residues on composites. I went with Festool Granat which is designed for composites.
An area that has not been sanded. The sanding should remove all of the shiny epoxy surface without digging to far into the carbon.
Sanded Strips.
The next step is to wipe, wipe and wipe again with clean cotton until the carbon dust is gone. I found that dust gathers between the taped strips and the unit needs to be flipped to get it out.
Why all of this cleaning? The optimal bond is very sensitive to dust, oil (off hands) and other debris. The akas are one of the most highly loaded areas of the boat and therefore sensitive to failure from a poor bond. Believe it or not, the wooden box of the beam could still flex along it's length before the carbon went on. We supported the curve where the beam rose off the table with legs. The weight of the clamps could have deflected the curve of the beam.
The beam and carbon are primed with un-thickened epoxy. Then a normal bonding batch is placed on the beam with a notched trowel.
The beam after glue up.
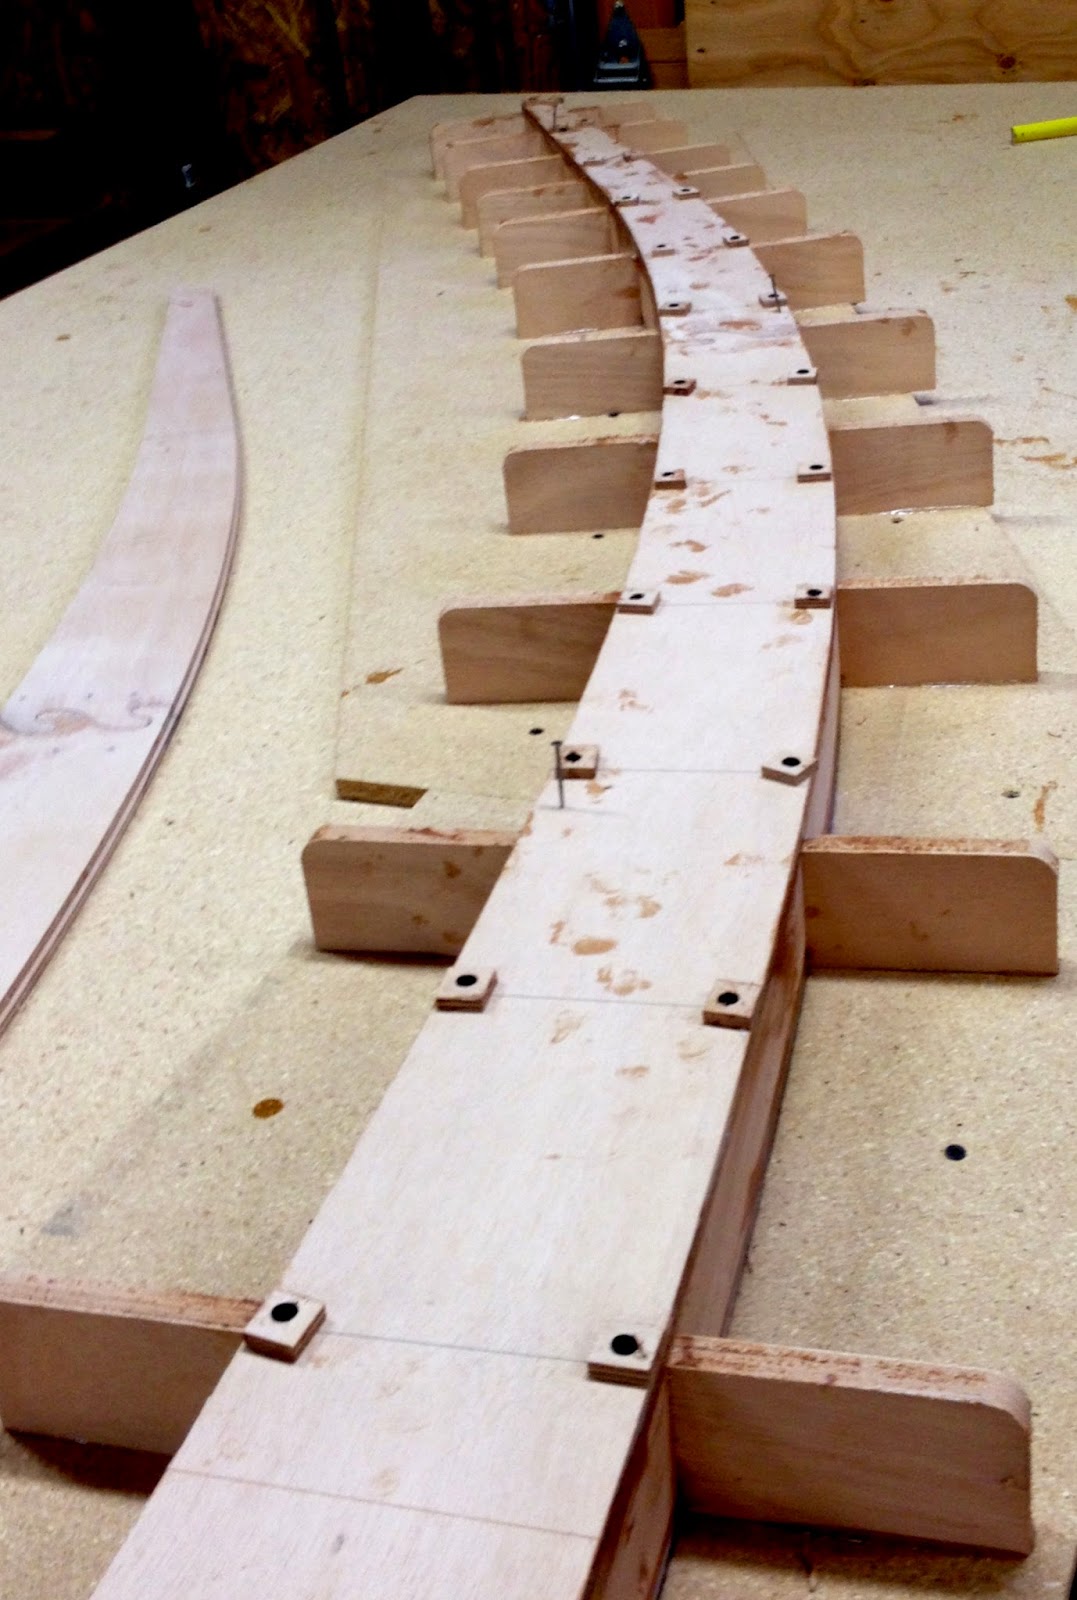
Clamps were placed at 6 inch intervals. Aligning the strips in the center of the beam is an issue. We taped the carbon down temporarily to keep it aligned. Clamping was done from one end to the other to remove any slack and prevent bridging on the curve.
I made an attempt to make guide blocks to keep the strips aligned, but they did not turn out very well. See photo above. I did not make them big enough and they had to be glued on the rounded over corners of the box. They were not very accurate. It would be best if there were some sort of fool proof jig for this, so you would not have to rely on aligning by eye. The buttered pieces are also very slippery. You have to watch that tightening clamps does not slide the strips one way or another.
Task time: 5 hours
Total project time: 212 hours


