Showing posts with label vacuum bag. Show all posts

Sunday, February 14, 2016

Curved Panels for Pod and Cockpit

I have been bad about posting.  I started working on curved foam panels back before the holidays.

The pod and cockpit are assembled out of curved foam sandwich panels.  Most all parts that are above and outbound of the deck are divinycell cores with two layers of carbon on each side.  The external side gets an additional e-glass layer for durability.

Paul designed these appendages so that all of the sides use the same curve.  This greatly simplifies the building.  All seven or eight panels can be layed up on the same mold.


The mold was build out of three CNCed pieces of MDF that define the curve.  These were joined to a base plate and some lightweight supports were added.


The tool face is two sheets of 1/4 inch melamine glued down to the structure.  I added screws along the edges to strengthen things a bit.  There is a seam between two sheets of melamine that needed to be fairly smooth and airtight.  After pondering how to seal this, I settled on about five layers of overlapping packing tape.   The whole surface is waxed and has some mold release as the outer coat.

Panels are vacuum bagged to the surface.  The layup is either a two or three step process.  The best inside finish is obtained when the inner skin is cured separately from the core.  The core can be laid over the the inner skin in one step, but thickened epoxy used to fill the foam surface can be forced through the carbon clouding the finish.

In either case, excess cloth needs to be trimmed from the inner surface using the core as a guide for a router before adding the outer surface.


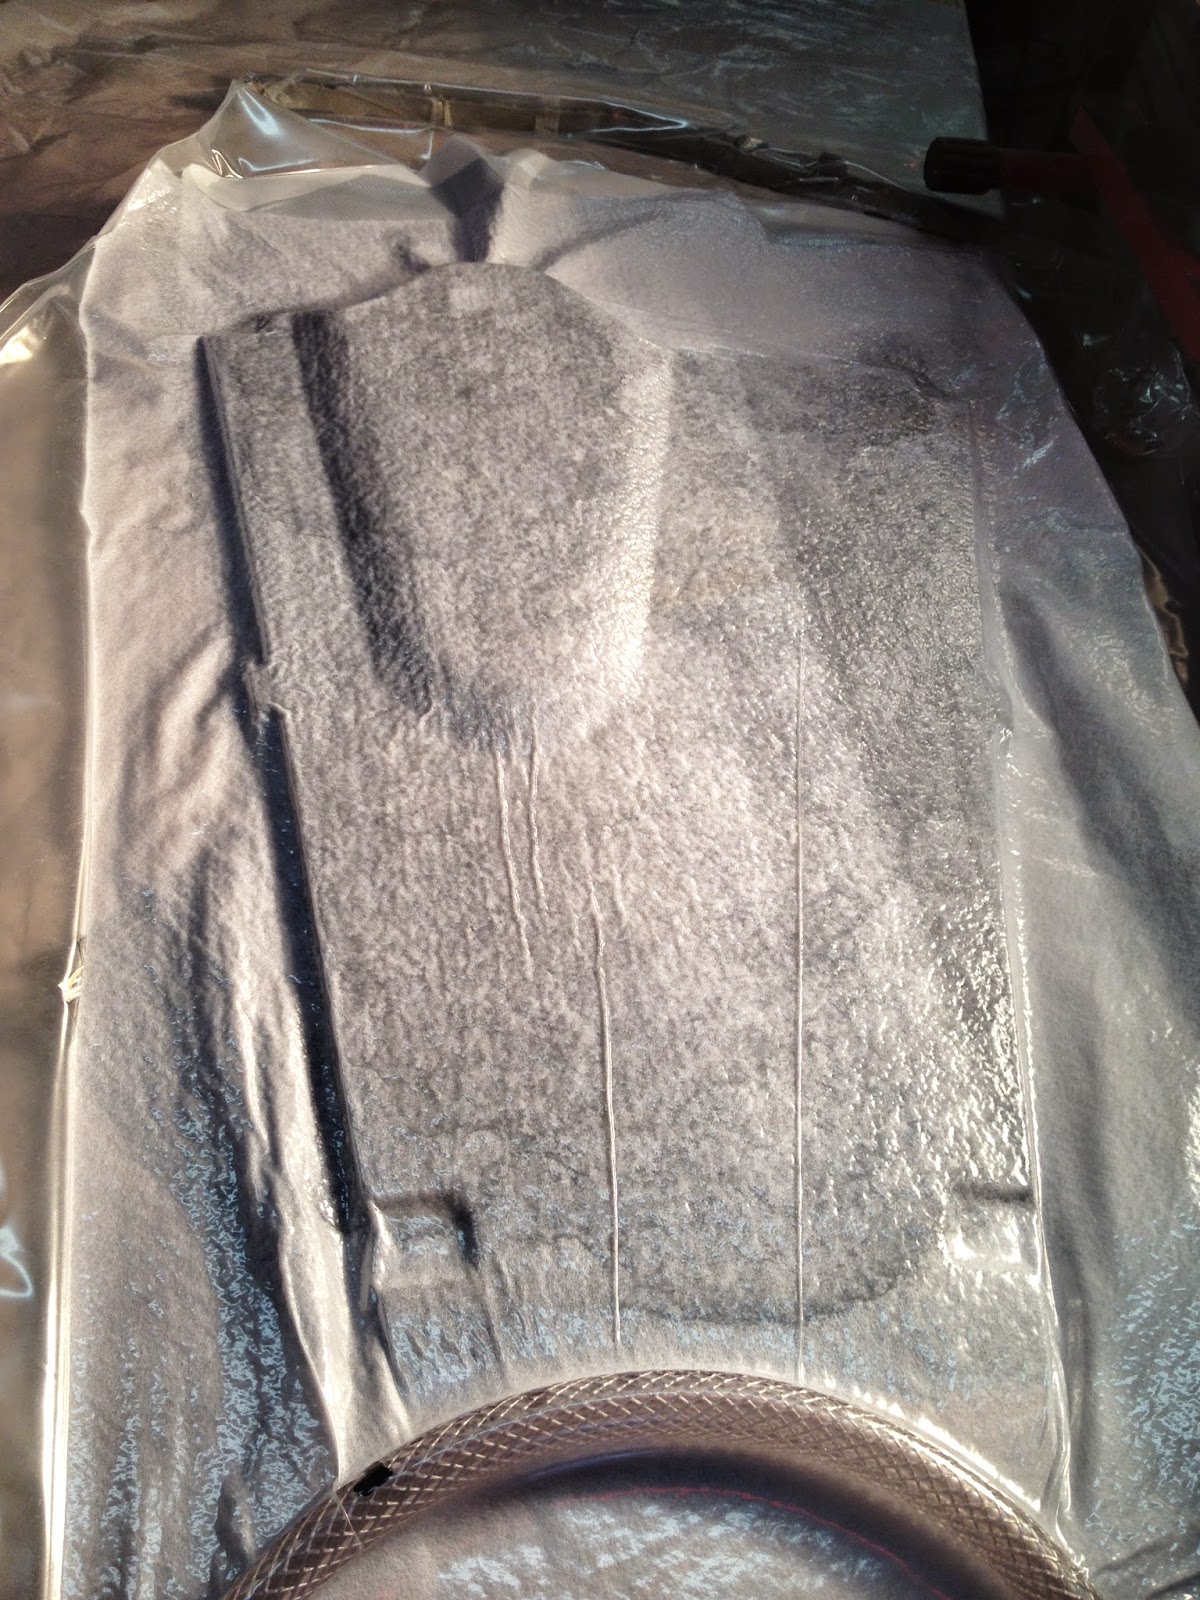
Here, the inner skin is laid over some peel ply.


The core is being bagged to the inner skin.  This panel is the leeward side of the pod.

I'll show more pictures in future posts.


Saturday, February 14, 2015

Big Bag


I have been working on the last layups for the main structural element of the beams.  The akas required a lot of fairing due to the stair-step shape of the pultrusion laid on the tops and bottoms. Unfortunately this added a bit of weight and lost some of the advantage of pultrusion over regular uni.  The layers did not quite span the width of the beam.  Some of this may have been caused by rounding over the edges of the wood frame prematurely.  We had not decided to use the pultrusion until after this step was done.  I have not done all the math, but I might have been able to get layers of six rods across if I had had the full flat width of the beam.  But, that might have required rounding of the edges of pultrusion causing a loss of strength.  Future builders should definitely look carefully at the options to cut weight and fairing effort 


I ended up laying battens on the sides to dam up fairing compound.  I then sanded the tops and sides to square corners.  The corners were then true enough to run a roundover router bit down the edges getting an even, eased corner and removing some of the excess weight.


This is 6 inch diameter 14.2 oz sleeve (481 gm/sq m) rather than 11.7 oz called for in the plans.  I had my choice of 7 oz or 14.2 oz cloth, so I went with the heavier.  This again is extra weight, but it will add strength and stiffness.  The sleeve came from Soller Composites. ACP Composites is another source.  They seem to have pretty much the same product line.


The python in action.


The 6 inch sleeve was able to conform well to the variance in circumference on the beam, from 13 to 22 inches.


A shot of the 18 foot vacuum bag.  It took two of us about two hours to wet out the sleeve and bag up the aka.  I bought some extra slow hardener to give us some more time.  The shop was about 65 degrees.  Once the vacuum was on, I raised it to 78 degrees and left it overnight.  The wet beam was quite unwieldy.  It had to be flipped several times.  As with the mainsheet beams, I felt I could not get pre-wetted carbon over the beam.  I got a little paranoid with the epoxy and used plenty to ensure it was wet all the way through.  I figured the vacuum bag would remove the excess.


Overall, I am fairly pleased with the result.  The sleeve is well adhered and the weave is well filled.


I had some annoying surface wrinkles.  I think this is excess epoxy that pooled in some places.  I am able to flatten these with just a few strokes of sharp 220 paper on a flat board.  The dust is white rather than black, so I'm not sanding carbon.  Wrinkles in cloth this heavy would have been much larger. Getting peel ply and perforated release plastic on the compound curves was a pain, especially having to shift the aka multiple times.  I wish I knew more about these processes, so I could get nicer results.


Foam cowlings now have to go on one side before the last layer.  I will probably use carbon or fiberglass sleeves over the foam.  It is smoother and maybe stronger that patches of regular cloth.  The shape with the foam will be even more challenging.  Perhaps it should be infused?

With all the fairing, these steps on the two akas are taking about 80 hours.


Task time: 80 hours
Total project time: 482 hours

Saturday, November 15, 2014

Mainsheet Beam in Vacuum Bag


This is just an extra shot I had of one of the many vacuum baggings of the beams. The envelope is made of plastic packing tubing.  Only the ends need to be sealed on the tube, simplifying matters and reducing the potential for leaks.  I have been sealing the ends of the tubes with these plastic snap-together flanges from ACP Composites.  They are cheaper and more consistent than bagging tape.


The packing tubing can be found at ULINE and other places.

Thanks to Dan Newland at Pegasus Aeromarine for turning me on to packing tubing.


Sunday, October 19, 2014

Carbon Work on Forestay Attachment

The fore/back stays are anchored on dedicated bulkheads which are strengthened with a combination of carbon plate and woven cloth.  There are three layers of cloth per side and then the cplate goes on. I believe the cplate was 18 layers making a total of 42 layers of reenforcement for the chainplates.


General Layout


Plate over carbon.  The nails act as locators.  Once glue has been applied the pieces are like a greased pig, so the nails allow you to find the proper position.


Plate faired and bagged.


Task time: 8 hours
Total project time: 302 hours