Saturday, September 10, 2016

Peel Ply and Bonding Surface Preparation


How a peel ply releases from the composite substrate to be bonded controls the surface quality and thus bond performance. Fracture between (blue arrow) the matrix resin of the impregnated “wet peel ply” and that of the composite substrate produces the best results. 
SOURCE: “Evaluation of Peel-ply Materials on Composite Bond Quality”, Univ. of Washington and The Boeing Co.


There is a very informative post about peel ply and bonding on the Composites World Blog.  A lot of good information about the subtleties of surface preparation.

Sunday, February 14, 2016

Curved Panels for Pod and Cockpit

I have been bad about posting.  I started working on curved foam panels back before the holidays.

The pod and cockpit are assembled out of curved foam sandwich panels.  Most all parts that are above and outbound of the deck are divinycell cores with two layers of carbon on each side.  The external side gets an additional e-glass layer for durability.

Paul designed these appendages so that all of the sides use the same curve.  This greatly simplifies the building.  All seven or eight panels can be layed up on the same mold.


The mold was build out of three CNCed pieces of MDF that define the curve.  These were joined to a base plate and some lightweight supports were added.


The tool face is two sheets of 1/4 inch melamine glued down to the structure.  I added screws along the edges to strengthen things a bit.  There is a seam between two sheets of melamine that needed to be fairly smooth and airtight.  After pondering how to seal this, I settled on about five layers of overlapping packing tape.   The whole surface is waxed and has some mold release as the outer coat.

Panels are vacuum bagged to the surface.  The layup is either a two or three step process.  The best inside finish is obtained when the inner skin is cured separately from the core.  The core can be laid over the the inner skin in one step, but thickened epoxy used to fill the foam surface can be forced through the carbon clouding the finish.

In either case, excess cloth needs to be trimmed from the inner surface using the core as a guide for a router before adding the outer surface.


Here, the inner skin is laid over some peel ply.


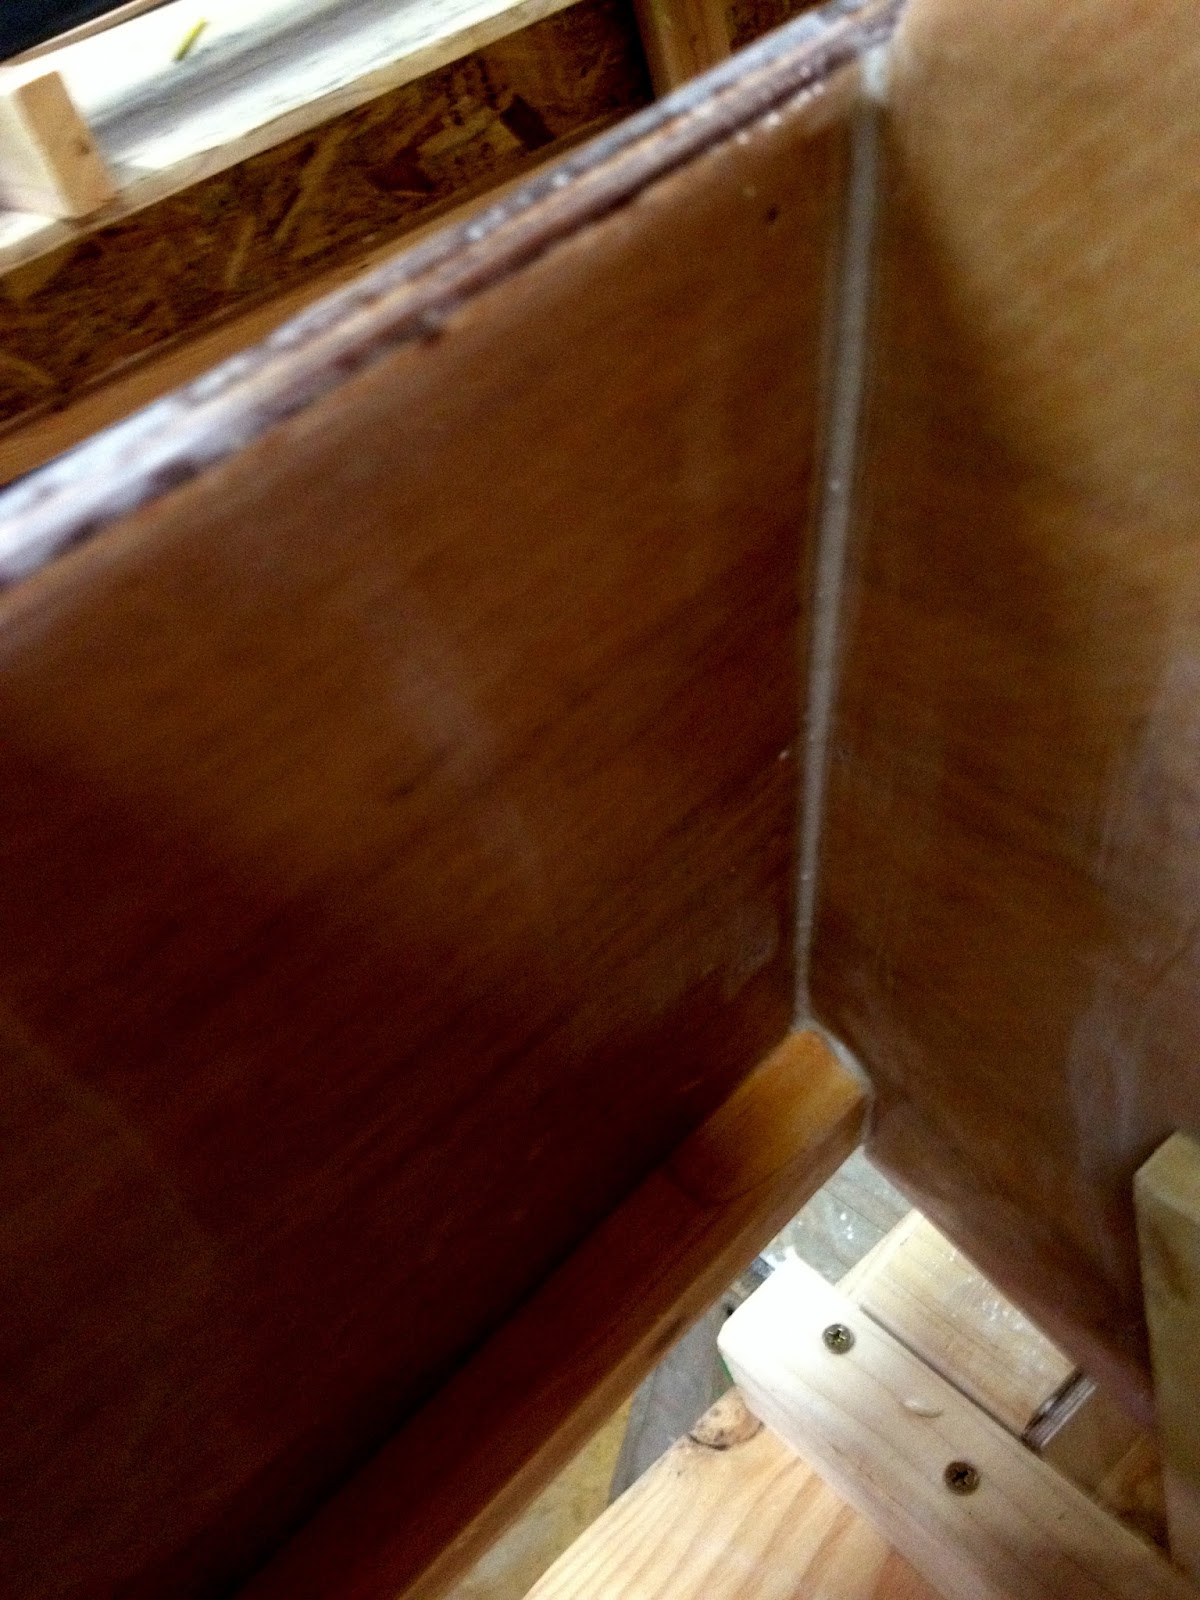
The core is being bagged to the inner skin.  This panel is the leeward side of the pod.

I'll show more pictures in future posts.


Thursday, November 5, 2015

Cabin Parts

Areas of the main hull that are above and outboard of the deck are made of composite panels.  The panels are divinycell covered with carbon and an outer skin of fiberglass.  Some of the panels are flat while the majority are curved.  One curve has been used for all of the panels so that the builder only needs one mold.

I had mold frames cut at Turnpoint Design out of MDF.  Using a CNC ensures the frames are identical and also had the side benefit of adding puzzle joints.   The mold surface is about 12 feet long, so the puzzle joints make it easy to connect the fairly large sheets.


Three frames will be anchored on sheets of OSB perpendicular to the shop floor.  The too face will be two sheets of 1/4 inch melamine attached across the mold's top curved edge.


The plans also call for a laminated beam to support the curved foam cabin top.  The line for the beam can be taken off of a  mold as shown above.


Prior to starting on the curved parts,  I have been assembling flat panels.  I can use a sheet of melamine on top of my work table while it is still flat.  Flat panels make up the cabin dome and the bunk.


This photo shows two pieces of foam that form the dome top.  I perforated the foam in a one inch square pattern to allow air escape in the vacuum bag.  I need to make a perforation tool that pokes more than one hole at a time.  Presently I used a cordless drill on matching panels that are clamped together.


A layup of 2 or three layers of fabric is done and then the sandwich is clamped to the melamine.


This is a fuzzy shot of an untrimmed panel coming out of the bag.  The outermost layer is fiberglass to add a little toughness to the skin.  The glass is visible across the window and on the edge.

I trim the excess cloth off the edges and then cleanup using a flush trim router bit.  The pattern is the part's twin clamped to the working piece.  Some parts don't come in pairs, so I'll have to use a batten.


This shows a cross section of the fir cabin beam molded off of the jig above.   The beam is 9 feet long and 30 x 50 mm thick.


Task time: 65 hours
Total project time: 919 hours

Friday, October 30, 2015

It's a Newick

Dick Newick's official biography has been published.

IT'S A NEWICK - Legendary Designer Brought Grace and Beauty to Multihulls


Available at Amazon and elsewhere.


Thursday, September 24, 2015

Aka Fairing Reinforcements


Applied reinforcements last week.  There are three layers of unidirectional tape down the spine of the curve.


300 gm/sqm cloth draped over beam.


The uni is visible under the eglass.  It will provide lateral stiffness.  I had to fair the edges in a bit as the stack of uni stood proud a couple of millimeters.

The glass covering physically locks all of the layers together to the main beam at the bottom.   More importantly, the glass provides a measure of toughness.  The foam with only a bit of fairing compound over it was quite fragile.  It would have been easy to poke a hole or ding it.  The fairing is now firm, but may still be vulnerable.

The second beam is now mostly shaped and the surface being faired.

Task time: 8 hours
Total project time: 854 hours

Thursday, September 17, 2015

Shed Happens

What do you do when you are thoroughly bored of fairing akas?  Bump out the shop extension.


I now have a 42 foot shop in which to build a 32 foot Vaka.


We also had a flying ama sighting.  Raising the hull frees a lot of precious floor space.


Task time: 16 hours
Total project time: 846 hours

Wednesday, September 2, 2015

Aka Fairings


The outer edges of the aka crossbeams are covered with a foam fairing.  This will allow waves to flow past them easier as well as providing a great deal of lateral stiffening.


The foam is lightweight polystyrene building insulation that was CNC cut by Turn Point Design.


After looking around the internet, I decided to use Gorilla Glue to join the pieces of foam.  The glue is gap-filling, strong and has a similar sanding characteristic as the foam.  Above, is a test glue up.


The foam is carved into sections that are stacked.  Every few feet there is a half ellipse template for a fairing guide.


At the windward end of  the beam a solid piece of wood will be attached and shaped. This strengthens the end where is will be attached inside the ama.

Once all of the sections are fastened in place you start sanding.  I have been using a homemade longboard that is about 3 feet long.   The foam sands best with 40 to 80 grit paper.  It is very easy to clog up sandpaper with the blue dust, so 40 is used for all of the initial work.

The solid wood end is a piece of laminated black walnut.  The initial shaping of the wood was done with a belt sander and a plane.  After establishing the basic shape it is blended into the foam with the long board.

I also built a 6 foot sanding board for leveling long sections.


There can be tearout of the foam while sanding along seams.  The picture above shows the first beam after multiple cycles of applying fairing compound and then removing it slowly.  The beam is starting to take on a pleasing shape.   The next step will be to reinforce the leading edge with unidirectional carbon.


Task time: 60 hours
Total project time: 830 hours
Saturday, August 8, 2015

Ama Flipped


A couple weeks ago I flipped the ama over and started work on the interior.  


The keel panels needed taping with two or three layers of fiberglass.  Fillets were applied to the keel seam and the bulkhead intersections.


A final coat of epoxy went over the seams and interior.  I went with West's 207 special clear epoxy resin as it contains less amine which is beneficial to the barrier coat.  Also added 422 barrier coat compound.


The ballast tanks were then post cured.   It is suggested that the barrier coat should be heated to 120F (49C) or above for four to eight hours.  I piped hot air from a small ceramic heater into the space.  If you place the the heater inside, the thermal safety circuit will shut the machine down repeatedly.  I also added two 125W infrared light bulbs.  250W bulbs are available, but I was fearful of burning things in the small area.  This setup kept the temperature between 130F  (54C) and 155F (68C).  I clamped the lights to shine on the protruding tops of the bulkheads separately.


Task time: 110 hours
Total project time: 770 hours

Saturday, July 11, 2015

Ama Progress

The ama has been making good progress.  The keel panels went on.  Next the seams got cleaned up and filled where the wires had been.  The wire holes were closed.

A main task before moving on was fairing the chines, bow and keel.


Here is a bow filled and capped with a thin strip of glass.  I wanted to fully close the seam.


The bows and keel were about 20mm wide when joined.  The square shape did not look too sleek, so I decided to add a foam nose piece. The top picture show the foam glued over the glass, while the bottom is after shaping.  This is Divinycell H80.  It is strong, though I worry about cosmetic damage in minor bumps.


On the keel, I used the same concept with a strip of plywood.  The plywood has the corners on one edge rounded over.  A thin bullnose was then ripped on the table saw.  #17 finish nails are place prior to gluing.  The nails will act as alignment guide once the strip is wet.  Tape at 2 inch intervals worked pretty well as clamps.  I used fast hardener and added a little 5 minute epoxy to get the glue to stick and kick faster. This is a trick off of the West System site.  Sanding then faired it into the keel panels.


Here is the glass draped and partially smoothed.


The intersection of the bow and keel fairings.


The cloth has been wet out with a roller.  This shows how the bulkhead tabs were glued to the hull panels.


Here is the hull drying prior to the first fill coat.  The skirt will be trimmed off of the shear before the epoxy fully cures.  The skirt is also handy for catching epoxy runs during wet out.


Task time: 50 hours
Total project time: 660 hours

Sunday, June 28, 2015

Attaching Ama Panels

The last week has been a lot of gluing, filleting and sanding on the main ama planks.  After wiring things into place, I did an initial glue up.  Using a small syringe, I put a bead of thickened adhesive epoxy along the bulkhead plank intersections.  A small syringe allows you to force a bit of epoxy between the two surfaces.

The area should be cleaned up with a chisel stick to avoid excess sanding.  The seam and any remaining glue still needs to be sanded back dull.  A wider fillet is then put over the corners to provide most of the strength.  I used larger syringes for applying a fillet bead.  Many people use pastry bags, but the corners were a bit tight for my hands and a bag.  The fillets are then sanded a bit. The sanding is mandatory in the ballast tanks, as they will get a couple more barrier coats of epoxy over all the seams.


Stem wired for glueing.


Initial glue joint between bulkhead and plank.


The plans call for solid wood inner stems behind the bows.  I had some black walnut around which has a very high compressive strength and does not weigh a lot more than fir or laminated plywood blocks.

Shaping the stems was pretty ad hoc.   You don't really know the dimensions and angles until the panels are joined.  Once the panels are joined, there is not much room for measurements and visual inspections of the inserted pieces.

I decided to go with two parts per inner stem.  I figured that any inaccuracy in tapering and shaping could be taken up by sliding one wedge forward past the other into the small vee area.


The stem pieces during shaping.  In addition to the vee shape, the leading edge curves a bit.


Dry fitting the inner stem.  The pieces did not end up perfectly symmetrical, but it should be strong.  You can see where the stringers come together at the bottom of the picture.


Task time: 28 hours
Total project time: 638 hours

Thursday, June 18, 2015

Dry Fitting first Ama Hull Panels

I got the bulkheads firmly attached and then moved on to the main ama panels.


These were wired together at both bows and then dropped as a envelope over the bulkheads.


Some of the bulkhead tabs required sanding to fit into the slots. The glass and epoxy had widened them.  Future builders may want to skip glassing the tabs as much of it is sanded away.


Things fit together pretty well and the outboard, unsupported stations dropped into place.  The stringers provide plenty of support for the bows at this point.


The next step is to taper the insides of the stringers where they meet at the bows.  I took a conservative amount off of these on the bench, but they are still wide enough to hold the panels apart at the deck level.


Task time: 6 hours
Total project time: 616 hours

Monday, June 15, 2015

Ama Bulkhead Alignment

The new laser arrived and bulkhead alignment has started.


Bosch 2-45 level


The laser makes it pretty straightforward to align the panels relative to one another. 

Saturday, June 13, 2015

Ama Strongback

There has been more sanding and coating on the panels.

I had to reconfigure the shop a bit to allow storing my tablesaw to leave enough room to walk around the 25 foot ama and keep the build table in place.


The strongback is made of two engineered beams laid over stout sawhorses.  The beams are large and way overkill, but they are true and I got a great deal on them at the lumber yard.


The mounts for the bulkheads are MDF attached with 1.5 x 1.5 inch cross pieces.  I made the internal span 30 cm to allow attachment with access to the bulkhead edges next to the hull panels. 


The four inboard stations will be supported.  Two outboard stations will overhang each end.


These are the bulkheads loosely propped in place.  I'm waiting for a cross-beam laser level to arrive.  The bulkheads have the horizontal and vertical centerlines scribed on them for accurate alignment.


Task time: 13 hours
Total project time: 610 hours