Sunday, June 28, 2015

Attaching Ama Panels

The last week has been a lot of gluing, filleting and sanding on the main ama planks.  After wiring things into place, I did an initial glue up.  Using a small syringe, I put a bead of thickened adhesive epoxy along the bulkhead plank intersections.  A small syringe allows you to force a bit of epoxy between the two surfaces.

The area should be cleaned up with a chisel stick to avoid excess sanding.  The seam and any remaining glue still needs to be sanded back dull.  A wider fillet is then put over the corners to provide most of the strength.  I used larger syringes for applying a fillet bead.  Many people use pastry bags, but the corners were a bit tight for my hands and a bag.  The fillets are then sanded a bit. The sanding is mandatory in the ballast tanks, as they will get a couple more barrier coats of epoxy over all the seams.


Stem wired for glueing.


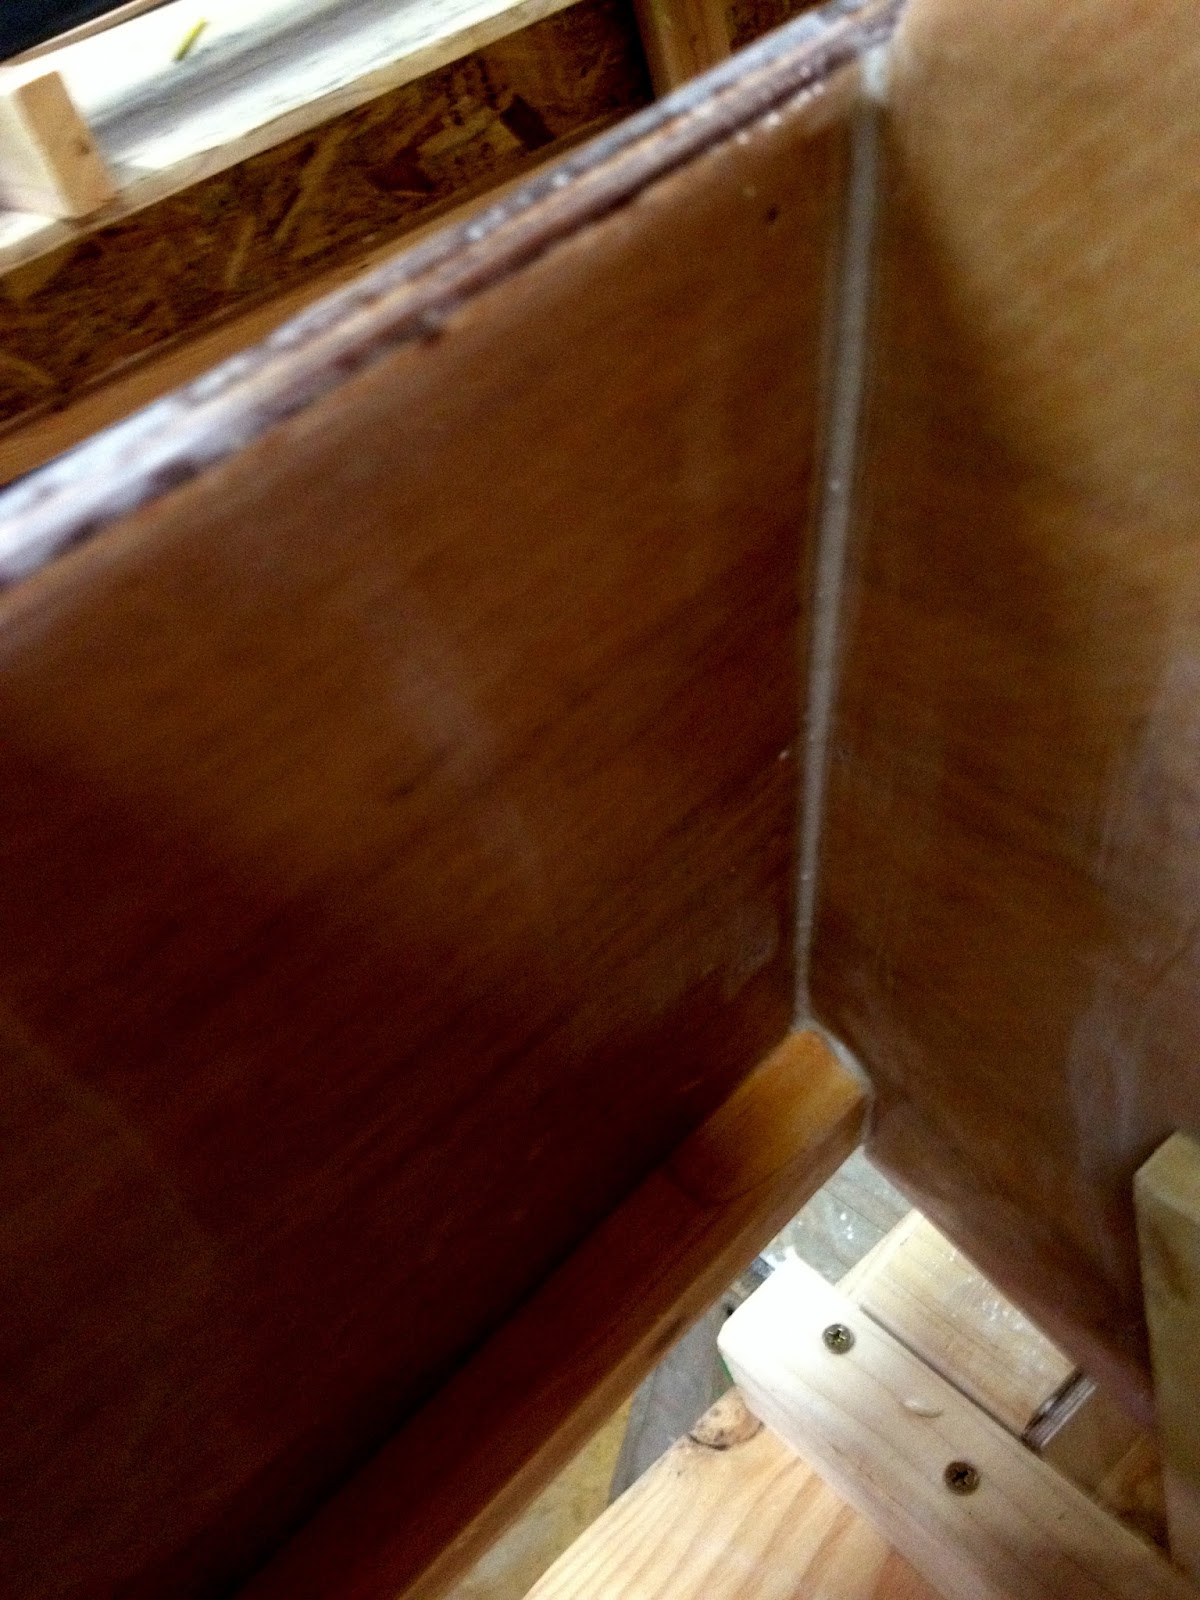
Initial glue joint between bulkhead and plank.


The plans call for solid wood inner stems behind the bows.  I had some black walnut around which has a very high compressive strength and does not weigh a lot more than fir or laminated plywood blocks.

Shaping the stems was pretty ad hoc.   You don't really know the dimensions and angles until the panels are joined.  Once the panels are joined, there is not much room for measurements and visual inspections of the inserted pieces.

I decided to go with two parts per inner stem.  I figured that any inaccuracy in tapering and shaping could be taken up by sliding one wedge forward past the other into the small vee area.


The stem pieces during shaping.  In addition to the vee shape, the leading edge curves a bit.


Dry fitting the inner stem.  The pieces did not end up perfectly symmetrical, but it should be strong.  You can see where the stringers come together at the bottom of the picture.


Task time: 28 hours
Total project time: 638 hours

Thursday, June 18, 2015

Dry Fitting first Ama Hull Panels

I got the bulkheads firmly attached and then moved on to the main ama panels.


These were wired together at both bows and then dropped as a envelope over the bulkheads.


Some of the bulkhead tabs required sanding to fit into the slots. The glass and epoxy had widened them.  Future builders may want to skip glassing the tabs as much of it is sanded away.


Things fit together pretty well and the outboard, unsupported stations dropped into place.  The stringers provide plenty of support for the bows at this point.


The next step is to taper the insides of the stringers where they meet at the bows.  I took a conservative amount off of these on the bench, but they are still wide enough to hold the panels apart at the deck level.


Task time: 6 hours
Total project time: 616 hours

Monday, June 15, 2015

Ama Bulkhead Alignment

The new laser arrived and bulkhead alignment has started.


Bosch 2-45 level


The laser makes it pretty straightforward to align the panels relative to one another. 

Saturday, June 13, 2015

Ama Strongback

There has been more sanding and coating on the panels.

I had to reconfigure the shop a bit to allow storing my tablesaw to leave enough room to walk around the 25 foot ama and keep the build table in place.


The strongback is made of two engineered beams laid over stout sawhorses.  The beams are large and way overkill, but they are true and I got a great deal on them at the lumber yard.


The mounts for the bulkheads are MDF attached with 1.5 x 1.5 inch cross pieces.  I made the internal span 30 cm to allow attachment with access to the bulkhead edges next to the hull panels. 


The four inboard stations will be supported.  Two outboard stations will overhang each end.


These are the bulkheads loosely propped in place.  I'm waiting for a cross-beam laser level to arrive.  The bulkheads have the horizontal and vertical centerlines scribed on them for accurate alignment.


Task time: 13 hours
Total project time: 610 hours

Friday, June 5, 2015